[Android]1. Cách build android 13 cho Raspberry Pi 4
Mình tham khảo hướng dẫn build từ blog của anh Phú https://vinalinux.com.vn/2024/08/01/xay-dung-android-13-cho-raspberry-pi-4/ . Các bước làm theo y hệt, note tại đây về 1 số lỗi khi build mình gặp.
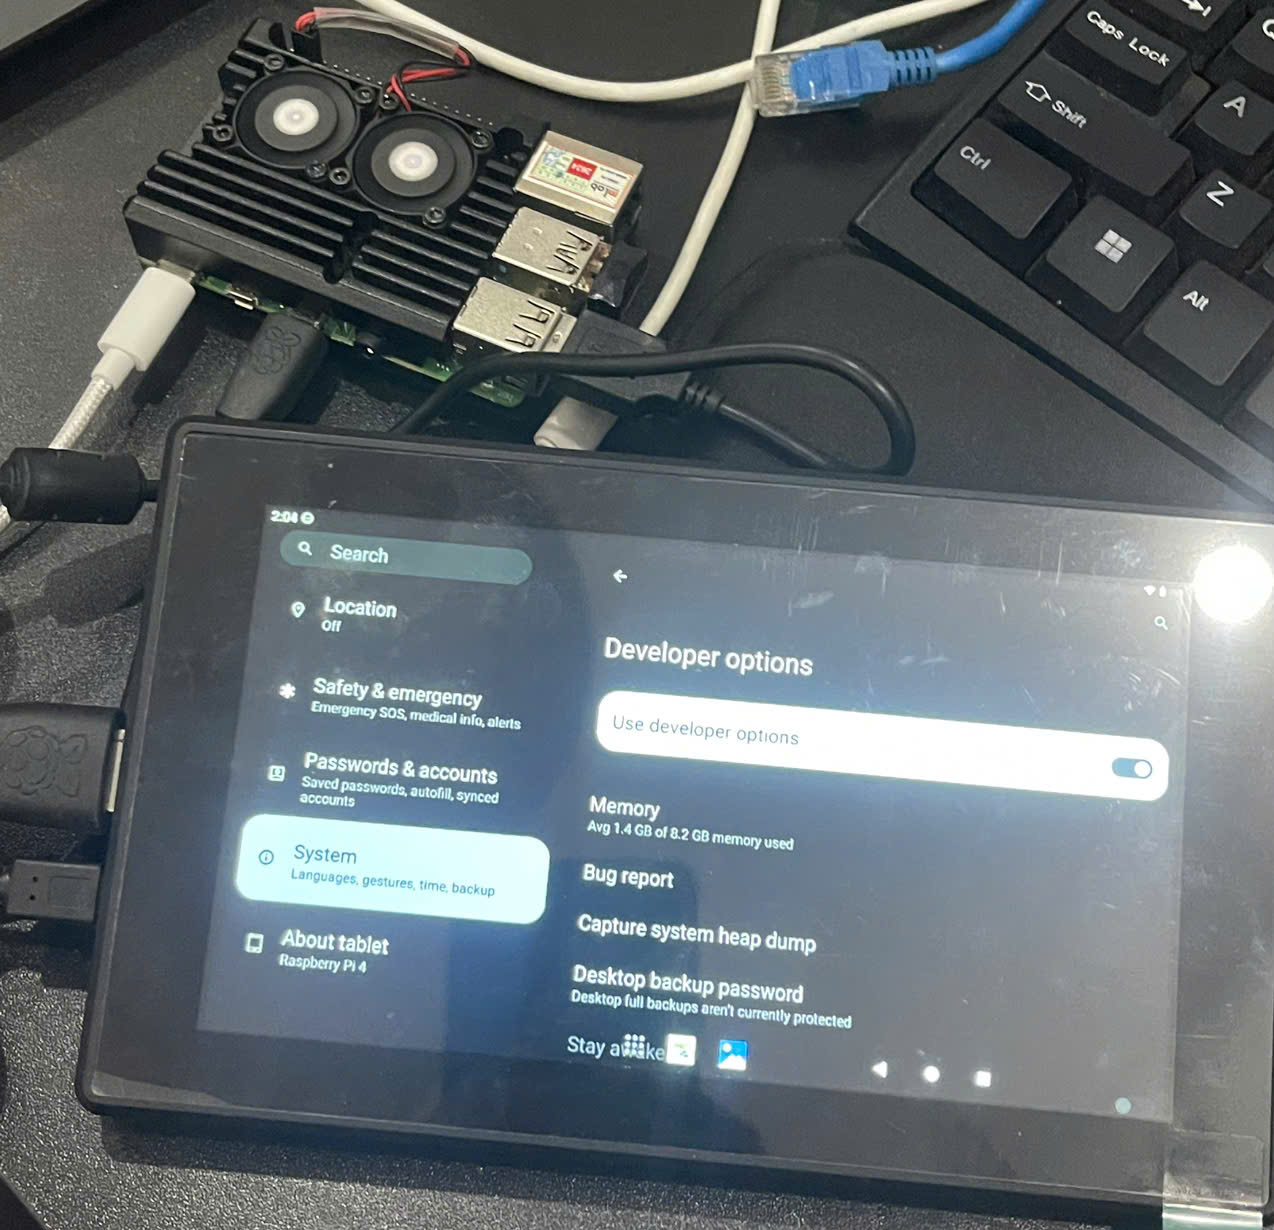
Mình dùng máy thật cài đặt Ubuntu 22.04, tuy nhiên hoàn toàn có thể sử dụng máy ảo như Virtual box hoặc VM Ware (nếu dùng máy ảo sẽ được ít cores build hơn, nên sẽ tốn thời gian hơn )\
Bước 2.1 repo sync
remote: [type.googleapis.com/google.rpc.RequestInfo] remote: request_id: "28be026273514e389a60b71fcfa78a7a"
fatal: unable to access'https://android.googlesource.com/device/google/bluejay-kernels/5.10/': The requested URL returned error: 429 error: unable to read sha1 file of .prebuilt_info/kernel-and-modules/prebuilt_info_24Q3-12357445_debug_locking_zsmalloc_ko.asciipb (e6bfdfd4809dc9e2ceb43fd9fe2d7dc1b52f96d7)
Lỗi này xảy ra do có quá nhiều request tới android.googlesource.com trong 1 thời gian ngắn--> repo sync --force-sync -j2 (Giới hạn task song song, mặc định sẽ = $(nproc))
Bước 2.2 make bootimage systemimage vendorimage -j$(nproc)
Killed soong bootstrap failed with: exit status 1 ninja: build stopped: subcommand failed.
Chạy bước này dùng full nproc thì sẽ có tốc độ cao nhất, suggest dùng tầm 75-80% thôiCùng với đó dễ xảy ra lỗi vì RAM bị full--> Add thêm swap
sudo fallocate -l 16G /swapfile
sudo chmod 600 /swapfilesudo mkswap /swapfilesudo swapon /swapfileecho '/swapfile none swap sw 0 0' | sudo tee -a /etc/fstab

Giờ thì thoải mái chạy rồi
Xong bước 2 là flash image Bước 4 luôn được rồi, chỉ khi nào cần sửa kernel liên quan sâu dưới phần cứng 1 số thứ mới cần làm Bước 3\