[Android] 1. How to build Android 13 for the Raspberry Pi 4
Translated from the Vietnamese original; wording may still be rough. Read the original →
I followed the build guide from Phú's blog: https://vinalinux.com.vn/2024/08/01/xay-dung-android-13-cho-raspberry-pi-4/ . The steps are exactly the same; here I only note a few errors I hit while building.
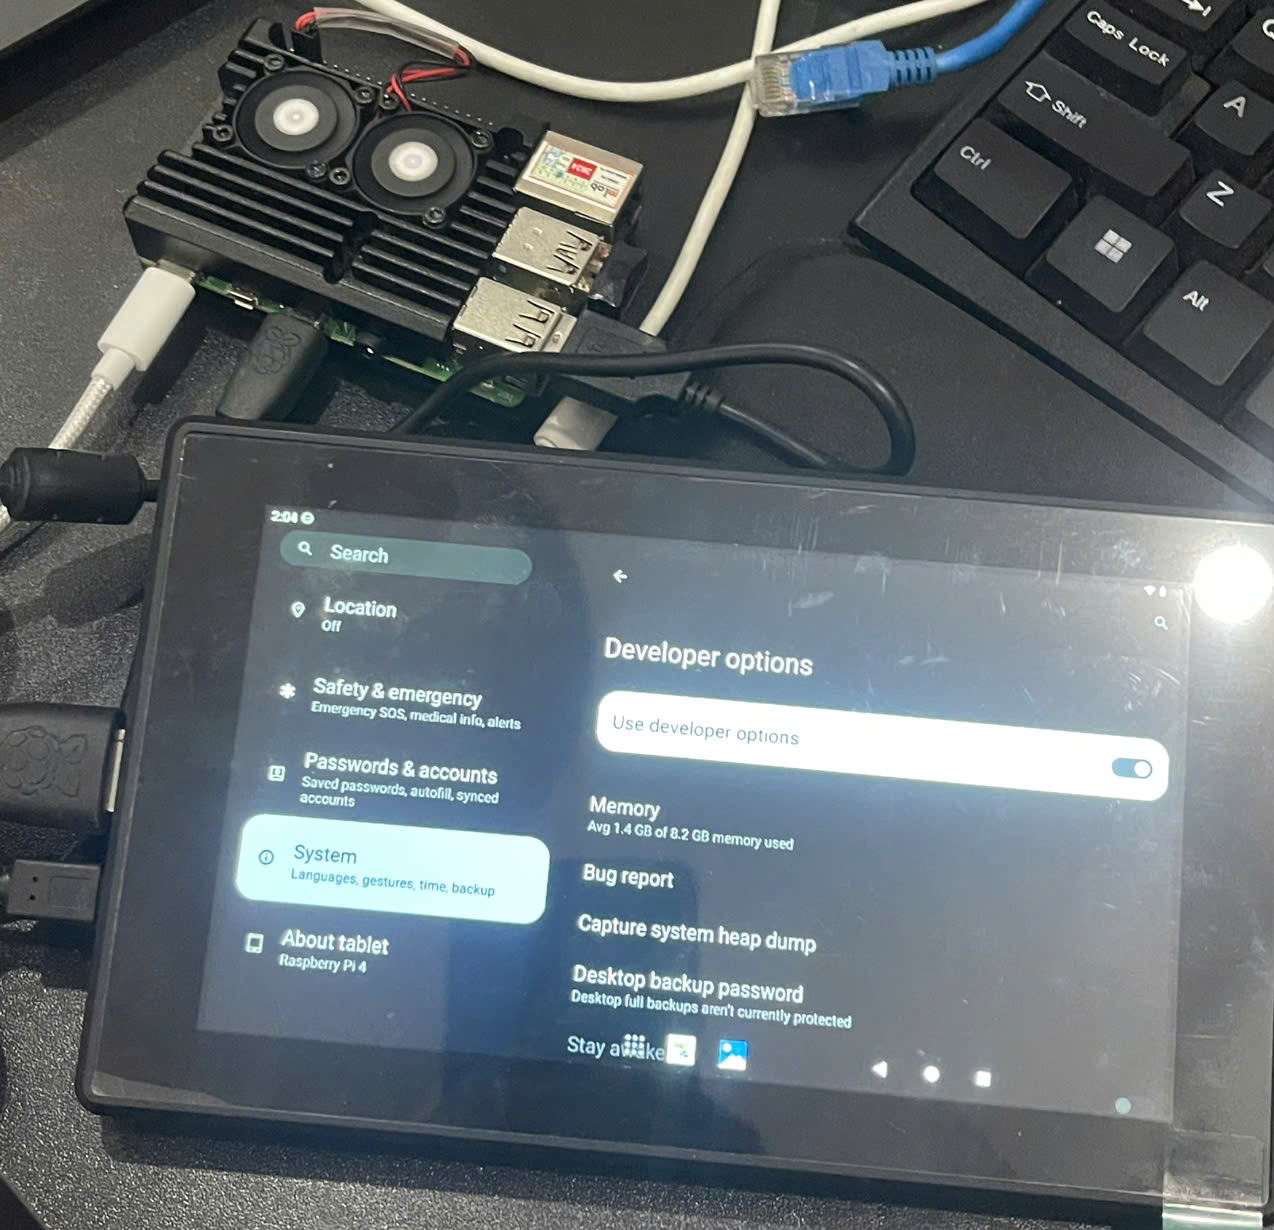
I used a real machine running Ubuntu 22.04, but a virtual machine such as VirtualBox or VMware works just as well (a VM gets fewer cores for the build, so it takes longer).
Step 2.1: repo sync
remote: [type.googleapis.com/google.rpc.RequestInfo] remote: request_id: "28be026273514e389a60b71fcfa78a7a"
fatal: unable to access'https://android.googlesource.com/device/google/bluejay-kernels/5.10/': The requested URL returned error: 429 error: unable to read sha1 file of .prebuilt_info/kernel-and-modules/prebuilt_info_24Q3-12357445_debug_locking_zsmalloc_ko.asciipb (e6bfdfd4809dc9e2ceb43fd9fe2d7dc1b52f96d7)
This error happens because too many requests hit android.googlesource.com in a short time --> repo sync --force-sync -j2 (limit the number of parallel tasks; the default is $(nproc)).
Step 2.2: make bootimage systemimage vendorimage -j$(nproc)
Killed soong bootstrap failed with: exit status 1 ninja: build stopped: subcommand failed.
Running this step with the full nproc gives the highest speed, but I suggest using only about 75-80 %. It also fails easily because RAM fills up --> add more swap:
sudo fallocate -l 16G /swapfile
sudo chmod 600 /swapfilesudo mkswap /swapfilesudo swapon /swapfileecho '/swapfile none swap sw 0 0' | sudo tee -a /etc/fstab

Now it runs comfortably.
Once step 2 is done you can go straight to step 4 and flash the image; step 3 is only needed when you have to modify the kernel for something deep down at the hardware level.