[Yocto-BBB] 6. SSH into the board over Ethernet
Translated from the Vietnamese original; wording may still be rough. Read the original →
Continuing from post 5, in this post I show you how to add packages to the image so it can connect to the Internet when Ethernet is plugged in, and then SSH into the board, which makes programming easier later.
(If you run into difficulties following the blog, you can refer to my hands-on video at the end of the post)
1. Add packages and check
Here, to keep track of packages more easily, I create cusom-image.bb (really because typing core-image-minimal is a bit long :vvv) at /meta-bbb/recipes-core/images/
Its content is as follows
SUMMARY = "My custom Linux Image"
IMAGE_INSTALL = "packagegroup-core-boot ${CORE_IMAGE_EXTRA_INSTALL}"
IMAGE_LINGUAS = " "
LICENSE = "MIT"
inherit core-image
inherit extrausers
#Set rootfs to 200MiB by default
IMAGE_OVERHEAD_FACTOR ?= "1.0"
IMAGE_ROOTFS_SIZE ?= "204800"
IMAGE_ROOTFS_MAXSIZE = "2097152"
#Change root password to test
PASSWD = "\$5\$y9Aeg5ctwntRHo/g\$CAKtoTfQg7VPGfVAMGo5ZG/0GJLn3AD0JdoQ.i0dDFC"
EXTRA_USERS_PARAMS = "\
    usermod -p '${PASSWD}' root; \
    "
IMAGE_INSTALL:append = " \
    dhcpcd \
    iproute2 \
    iputils \
    openssh \
"
The packages mean the following
dhcpcd: provides the DHCP client (gets an IP from the router for Ethernet).iproute2: provides tools likeip link,ip addr,ip route.iputils: provides thepingtool.openssh: allows SSH from the laptop.
And that's enough; go ahead and build
bitbake -c cleanall custom-image
bitbake custom-image
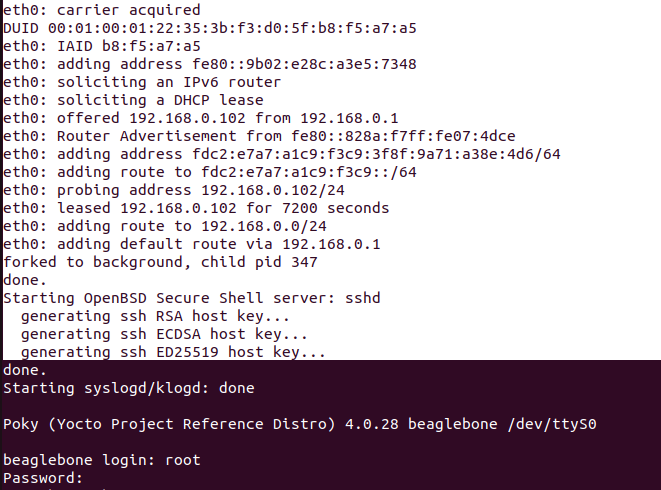
This is the result after rebooting (my custom-image.bb does not append custom-banner and the distro description from posts 3 and 4, so it is still the default).
If yours does not get an ip automatically, you can run the command
dhcpcd eth0
2. Internet connection and SSH
2.1 Test the Internet
Simply ping google
ping -c 4 google.com
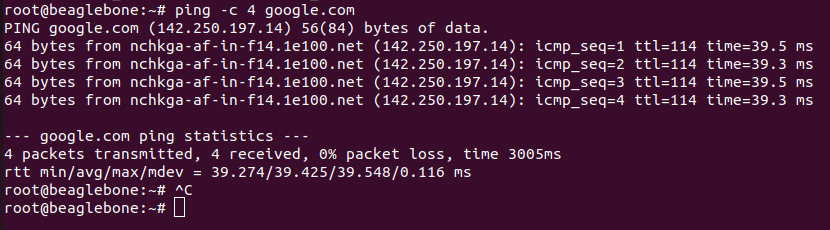
So we can ping google.com --> the Internet connection works
Everything looks ok, on to SSH
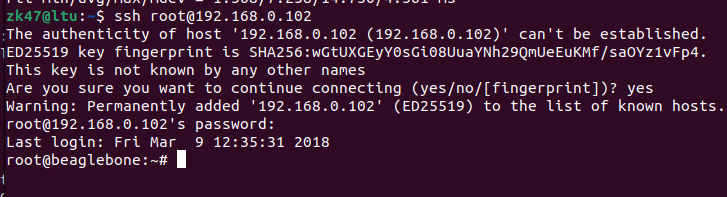
2.3 SSH from the laptop command line
ssh root@192.168.0.102
2.4 Connecting from Visual Studio Code on the laptop
2.4.1 Install the extension and test
We need to install the extension from Microsoft
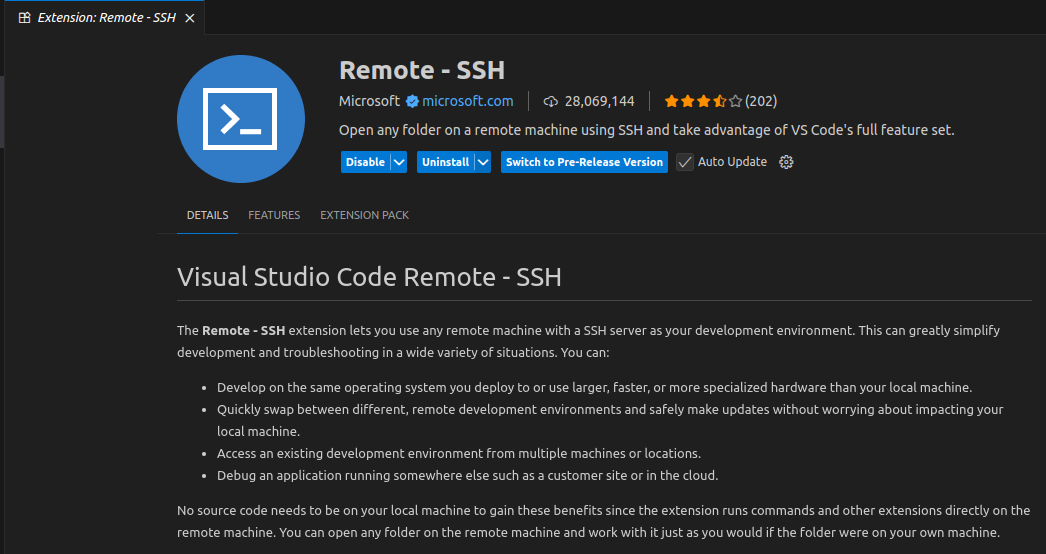
After installing, click the "><" button in the bottom left corner
Choose SSH --> Connect to Host --> Add new SSH Host, then enter
ssh root@192.168.0.102
Save, then go to SSH --> Connect to Host again; now the device appears here
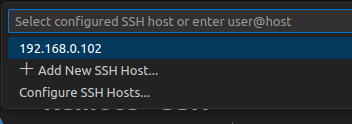
Enter the password and wait for VS Code Server to download to the board the first time, about 1 minute
However, VS Code has trouble opening the SSH session for the user interface because our image is missing packages VS Code needs
You can click Diagnose with Copilot to find out what to do next, or More Actions to look at the error Output log in more detail.
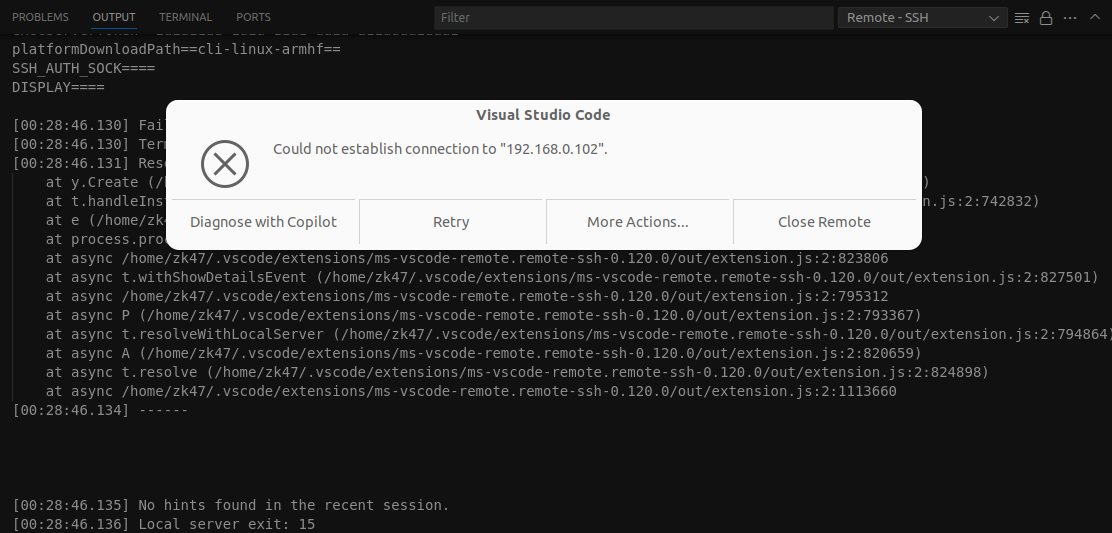
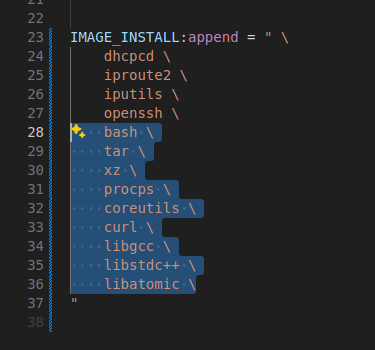
--> So we need to add the packages bash, tar, xz, procps, coreutils, curl.
2.4.2 Install more packages and test again
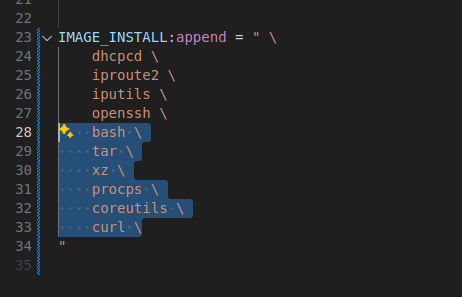
Note: every time you ssh after rebuilding the image, the beaglebone regenerates its ssh key at boot, so on the laptop side I also have to delete the old key in .ssh/know_host and accept the new one
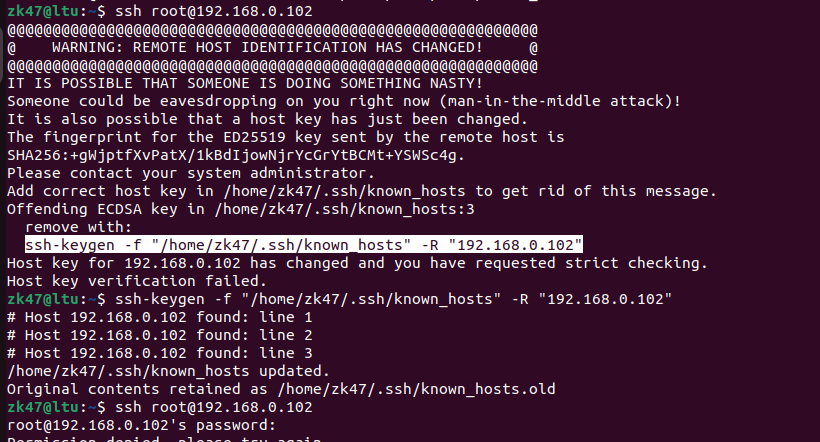
This time VS Code shows a new error
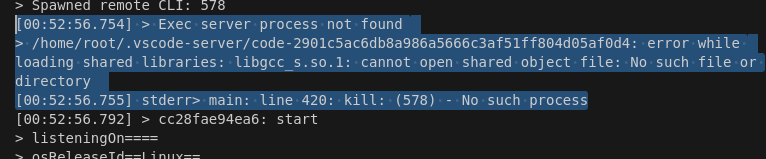
We have to install libgcc, libstdc++, libatomic as well. In the end our IMAGE_INSTALL:append is
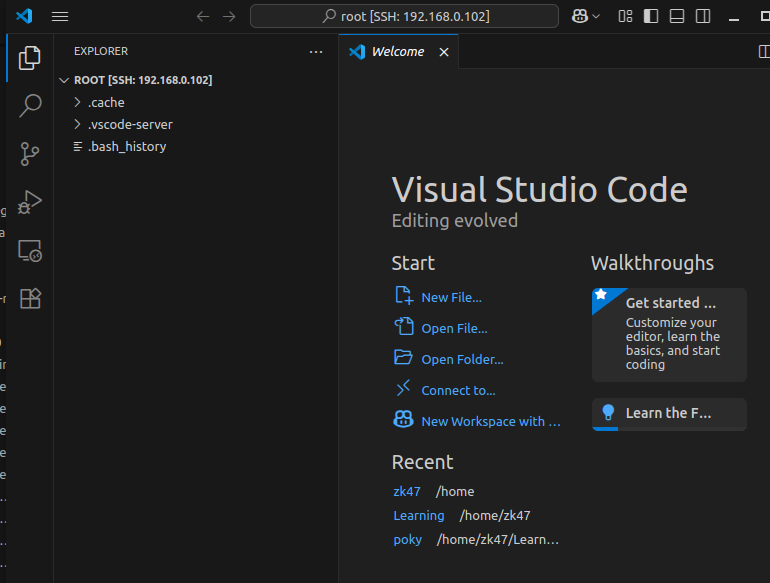
Now build and flash the sd card again. We connect successfully
--> However, Ethernet is only convenient when you sit near the router; taking the board somewhere means carrying a cable too, which is inconvenient.
--> In the next post I will show you how to install a USB wifi driver for the Beaglebone Black, still with a Yocto build