[Yocto-BBB] 7. Adding a driver for a USB wifi adapter
Translated from the Vietnamese original; wording may still be rough. Read the original →
For boards without a built-in wifi module like the Beaglebone Black, a usb wifi adapter is far more convenient than an Ethernet cable. In this post I use the TP-Link WN722N V2 USB wifi adapter, which is quite common in Vietnamese shops
(If you run into difficulties following the blog, you can refer to my hands-on video at the end of the post)
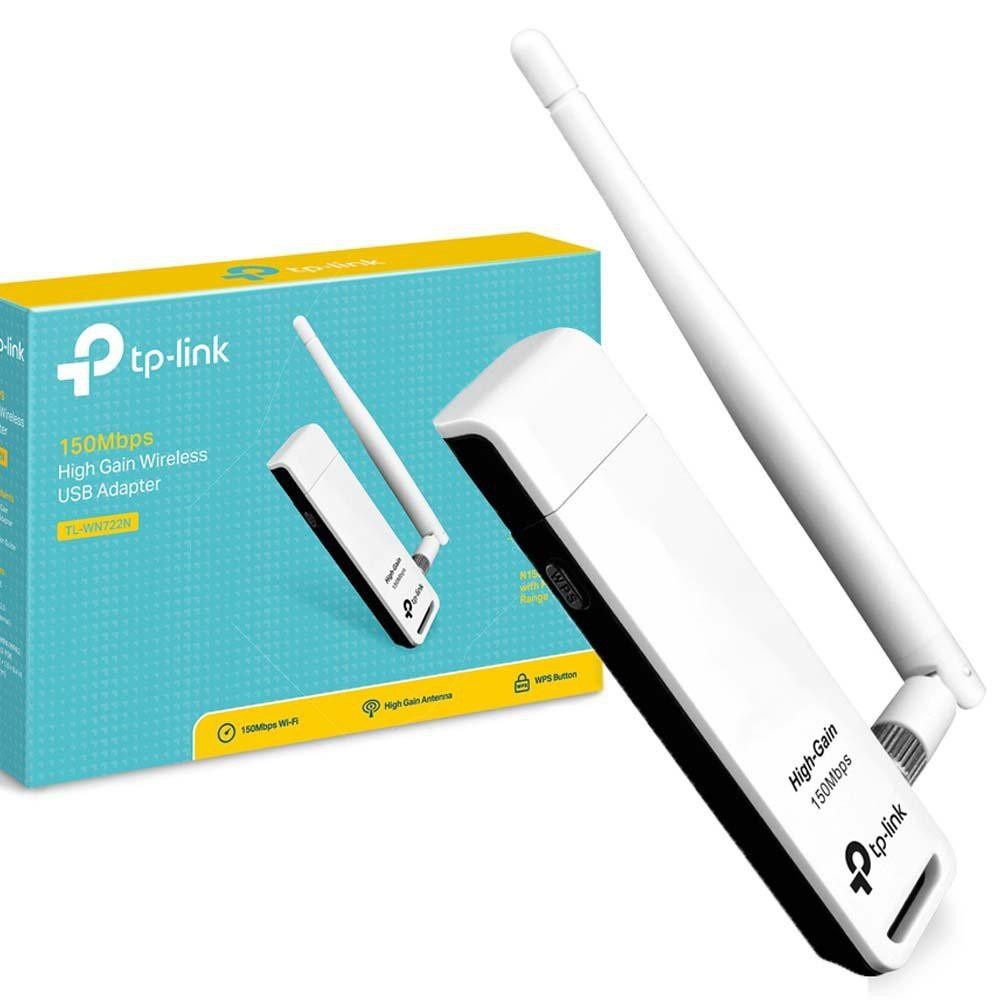
And of course, for a board or computer to start using a new piece of hardware, we need to provide a driver for it.
1. Checking compatibility and the driver
You can use another usb wifi adapter you already have and follow a very similar approach.
To check compatibility I go to this website: https://linux-wless.passys.nl/
I choose my vendor and click show; here I choose TP-Link
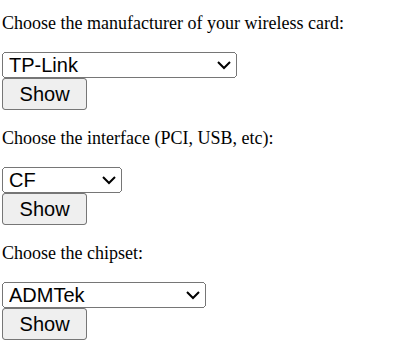
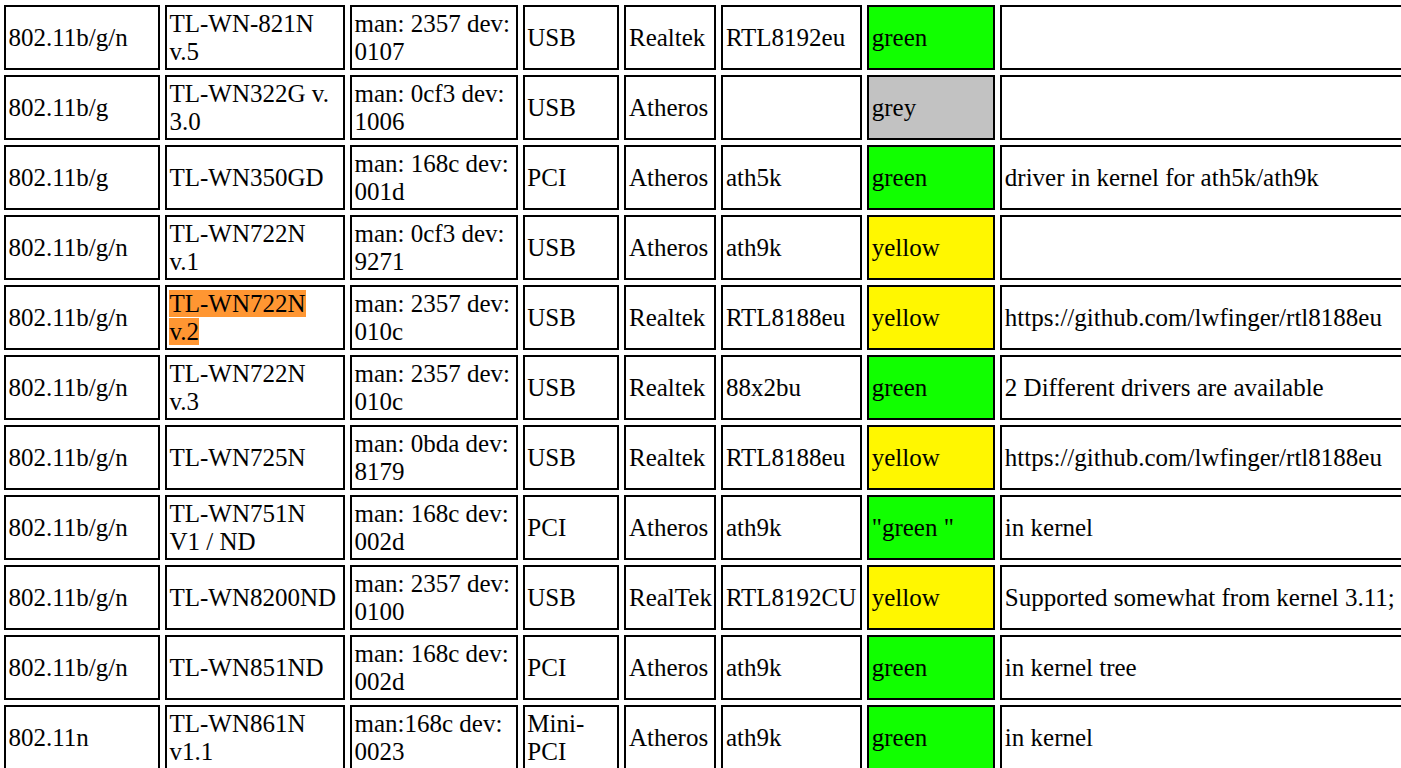
Then search for the usb model name TL-WN722 V.2. Here it is yellow, the middle level; from low to high compatibility: Grey, Yellow, Green. Yellow means it may work right away, but may also need some configuration.
I tested this usb wifi adapter with a prebuilt image from beaglebone <https://www.beagleboard.org/distros : am335x-debian-12.11-base-vscode-v6.12-armhf-2025-05-29-4gb.img.xz> and it picked up the rtl8xxxu driver right away and worked OK

However, with custom-image-minimal, which we build from packagegroup-core-boot plus a few packages we added ourselves, things are not that simple :vv
2. Building the USB wifi driver with Yocto
Plugging the usb wifi adapter into the board with the current custom-image-minimal build clearly will not work :vv
In the Comment column on https://linux-wless.passys.nl/ we find the driver link for the TL-WN722N v.2: https://github.com/lwfinger/rtl8188eu .
So our task is to clone this source, build it into a driver and add the driver to the image build
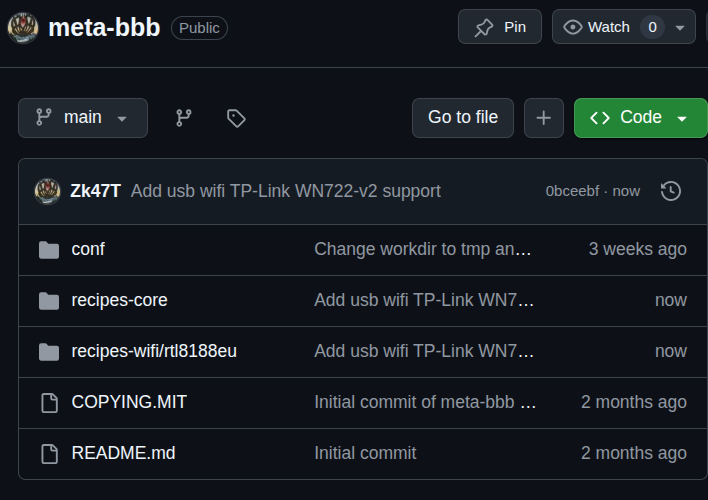
For the source code and folder structure you can refer to my github https://github.com/Zk47T/meta-bbb/tree/main
2.1 Recipe folder structure
Create a new recipes folder in meta-bbb, here I call it recipes-wifi, then create the bitbake recipe, which I name rtl8188eu.bb
meta-bbb
└── recipes-wifi
    └── rtl8188eu
        └── rtl8188eu.bb
2.2 Content of rtl8188eu.bb
DESCRIPTION = "Realtek RTL8188EU USB WiFi driver"
SECTION = "kernel/modules"
LICENSE = "GPL-2.0-only"

LIC_FILES_CHKSUM = "file://${COMMON_LICENSE_DIR}/GPL-2.0-only;md5=801f80980d171dd6425610833a22dbe6"

SRC_URI = "git://github.com/lwfinger/rtl8188eu.git;branch=v5.2.2.4;protocol=https"
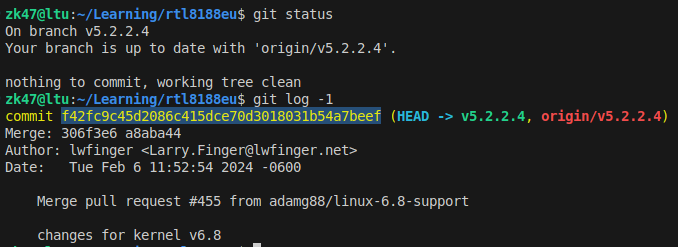
SRCREV = "f42fc9c45d2086c415dce70d3018031b54a7beef"

PV = "1.0+git${SRCPV}"
S = "${WORKDIR}/git"

inherit module

KERNEL_MODULE_AUTOLOAD += "8188eu"

do_install() {
    install -d ${D}${nonarch_base_libdir}/modules/${KERNEL_VERSION}/kernel/drivers/net/wireless
    install -m 0644 8188eu.ko ${D}${nonarch_base_libdir}/modules/${KERNEL_VERSION}/kernel/drivers/net/wireless/
}

# Manually declare the kernel module for packaging
FILES:${PN} += "${nonarch_base_libdir}/modules/${KERNEL_VERSION}/kernel/drivers/net/wireless/8188eu.ko"
RPROVIDES:${PN} += "kernel-module-rtl8188eu"
The DESCRIPTION and SECTION items probably need no explanation.
LICENSE & LIC_FILES_CHKSUM
Yocto strictly requires recipes to have a LICENSE, so we need this field. The problem is that the original github https://github.com/lwfinger/rtl8188eu
does not include a LICENSE at all.
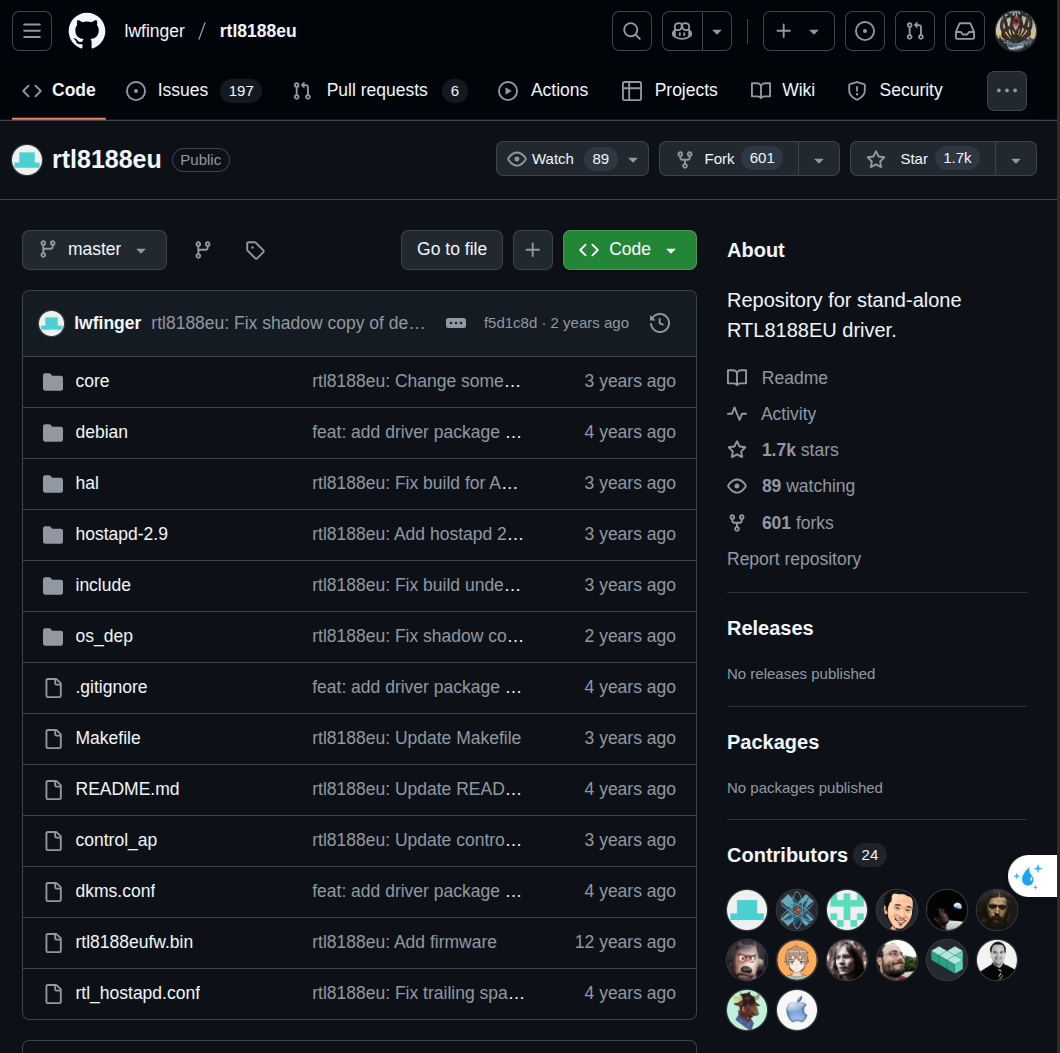
Normally the original github has a license, and the build verifies its checksum.
So here I add the LICENSE myself as GPL-2.0-only, a common LICENSE for releases on Linux.
I take this LICENSE from COMMON_LICENSE_DIR, which is /poky/meta/files/common-licenses
We hash the file and copy the result into LIC_FILES_CHKSUM
md5sum poky/meta/files/common-licenses/GPL-2.0-only
SRC_URI
As the name says, this is where the source code comes from. In the custom-banner post we took the source from local; now we take the source from git, with the syntax above
SRC_URI = "git://github.com/lwfinger/rtl8188eu.git;branch=v5.2.2.4;protocol=https"
Here I choose branch v5.2.2.4 rather than master, because building with master I got the following error
/home/zk47/Learning/yocto-mp1/build-mp1/tmp/work/stm32mp1-poky-linux-gnueabi/rtl8188eu/1.0+git/git/os_dep/os_intfs.c:757:16: error: 'struct net_device' has no member named 'wireless_handlers'
  757 |         pnetdev->wireless_handlers = (struct iw_handler_def *)&rtw_handlers_def;
...
After wandering around the forums for a while, I finally tried what this person did: switching from master to v5.2.2.4, and it built fine https://github.com/lwfinger/rtl8188eu/issues/330
Sometimes it really is exhausting :vv
SRCREV
Source Revision; here I choose the hash of the latest commit on the branch. You can clone the git repo manually and check git log to get the hash.
PV
Package Version, the version of the package you build. For example, if you set version 1.0, then after building, the output folder will be
build-bbb/tmp/work/beaglebone-poky-linux-gnueabi/rtl8188eu/1.0+gitAUTOINC+f42fc9c45d-r0
SRCPV is the Source revision, but for the package. I name it this way to make it explicit which commit, which package version and which source it comes from
S = '${WORKDIR}/git'
After do_fetch and do_unpack run, the output of the git clone is in the git folder in the build
build-bbb/tmp/work/beaglebone-poky-linux-gnueabi/rtl8188eu/1.0+gitAUTOINC+f42fc9c45d-r0/git
So we need to state explicitly where the source code is, which makes interactions like make or insmod easier
inherit module
Inherits the Yocto class module.bbclass, used for kernel modules.
It helps to:
- Automatically add compile flags matching the kernel
- Make sure the right kernel headers are used during the build
- Hook the module into the Yocto system
KERNEL_MODULE_AUTOLOAD += '8188eu'
Specifies that the module 8188eu.ko should be loaded automatically when the system boots.
- This creates an
8188eufile in/etc/modules-load.d/ - So the WiFi driver works right at boot, without a manual
modprobe.
do_install()
.ko file to the right place in the filesystemFILES:${PN} & RPROVIDES:${PN}
IMAGE_INSTALL2.3 A small change in custom-image-minimal.bb
With rtl8188eu.bb we have a driver recipe for the usb wifi adapter; now we need the built driver to be added to the image.
We add the following line to custom-image-minimal.bb, and to have commands for network connections we also add to IMAGE_INSTALL; this is the change to the file
diff --git a/recipes-core/images/custom-image-minimal.bb b/recipes-core/images/custom-image-minimal.bb
index d833726..8469106 100644
--- a/recipes-core/images/custom-image-minimal.bb
+++ b/recipes-core/images/custom-image-minimal.bb
@@ -34,4 +34,14 @@ IMAGE_INSTALL:append = " \
     libgcc \
     libstdc++ \
     libatomic \
+    kernel-module-rtl8188eu \
+    linux-firmware \
+    dhcpcd \
+    iw \
+    wpa-supplicant \
+    wireless-regdb-static \
 "
+
+KERNEL_MODULE_AUTOLOAD:append = " \
+    rtl8188eu \
+    "
2.4 Rebuild the image, test the driver and SSH
2.4.1 Build the image, test the driver
bitbake -c cleanall custom-image-minimal
bitbake rtl8188eu
bitbake custom-image-minimal
Flash and boot from the SD card. We check with the following commands
root@beaglebone:~# ls /sys/class/net
eth0  lo  wlan0
The wlan0 interface is there
root@beaglebone:~# iw wlan0 scan | grep SSID
command failed: Network is down (-100)
The network is still down, we need to bring it up :vv then run the scan again
root@beaglebone:~# ip link set wlan0 up
[  203.832596] RTW: Invalid Channel 0 of Band 0 in phy_GetChannelIndexOfTxPowerLimit
[  203.840378] RTW: Invalid Channel 0 of Band 0 in phy_GetChannelIndexOfTxPowerLimit
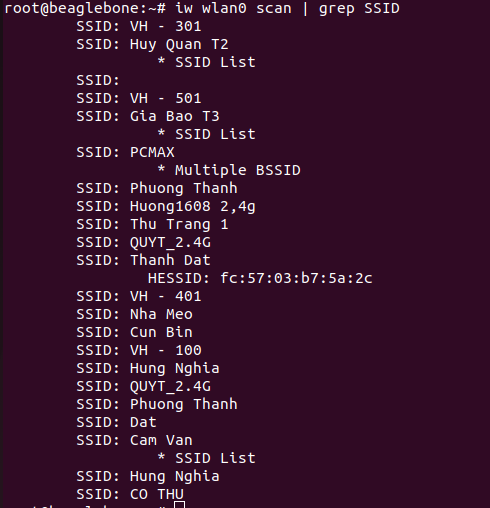
So our USB wifi adapter works. I will try an SSH connection from the laptop
2.4.2 Network connection and SSH
Say you want to connect to network A with password B; concretely I have SSID "iPhone", password "12345689", so I run the following commands in turn to connect
wpa_passphrase "iPhone" "12345689" > /etc/wpa_supplicant.conf
wpa_supplicant -B -i wlan0 -c /etc/wpa_supplicant.conf
dhcpcd wlan0
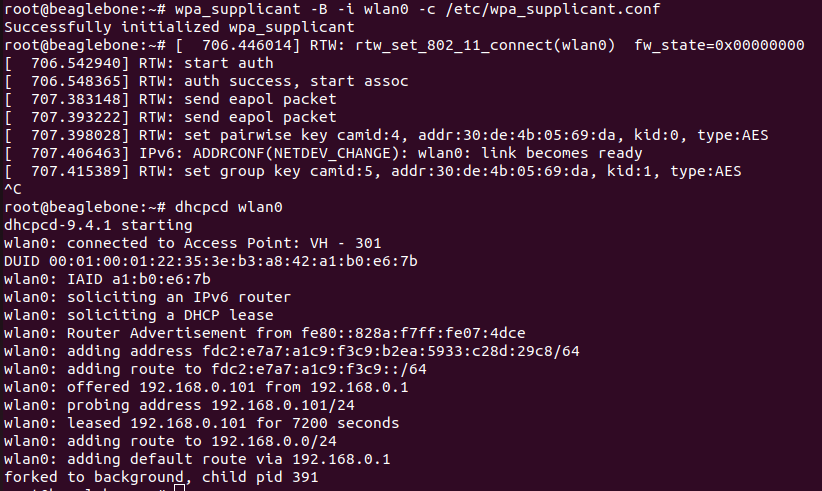
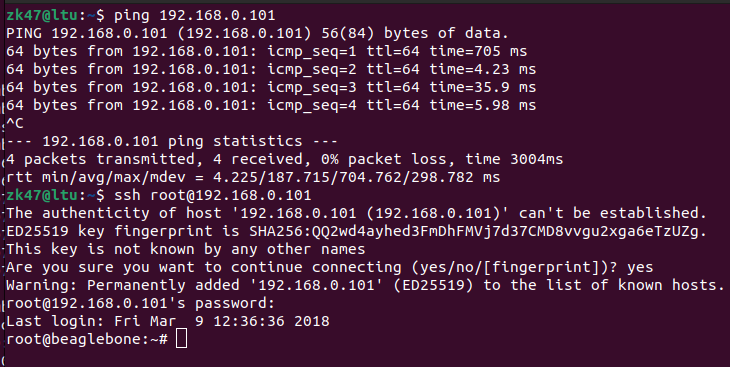
So I am connected to the network and got the IP 192.168.0.101
From the laptop side, the SSH connection also succeeded
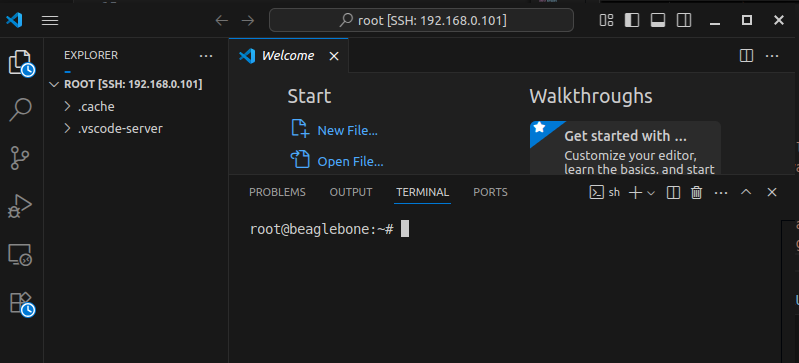
SSH through Visual Studio Code works too
In the next post I will show you how to connect an SSD1306 0.96 inch I2C screen to the Beaglebone Black