[Yocto-Lichee] 2. Getting started: flashing an image to the SD card for the Lichee Pi Nano
Translated from the Vietnamese original; wording may still be rough. Read the original →
In this post I show you how to get familiar with the board and test it when you first receive a LicheePi Nano and want to check whether it is alive :vv.
It is a bit backwards that the getting-started post is only the third post in the Yocto-Lichee series :vv. Recently I realised Yocto is quite complicated for beginners, so after the basic posts I will probably move to Buildroot to build the image first :vv.
1. Preparation
1.1 Hardware
- Lichee pi nano kit
- Micro usb power cable (one that carries data, so adb works)
- USB to UART cable (if you want to see the serial console)
1.2 Download the pre-built image
I put the image here https://drive.google.com/drive/folders/1ng2BlJO8en3XFMxtELdVX1J9H_lbOXoK?usp=sharing
It has 3 files: 1 file of adb commands, 1 image file, and 1 readme file about flashing. In this post I explain each step of that readme in more detail.
2. Flash the image
2.1 On Ubuntu
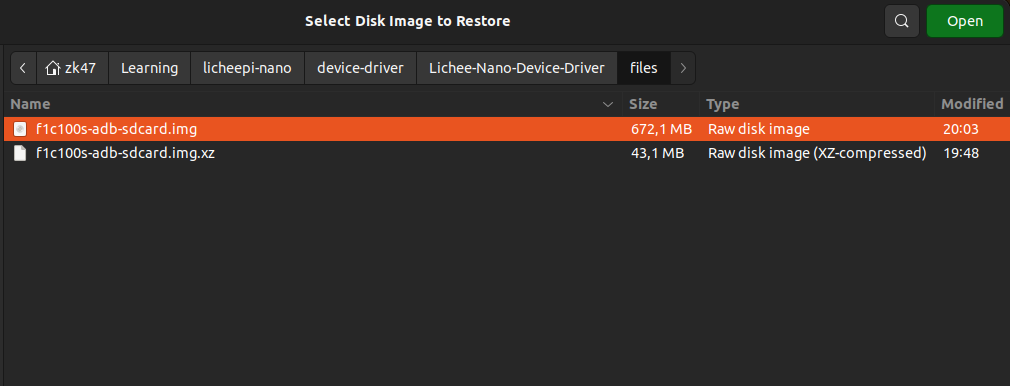
Open the Disks app that comes with Ubuntu; plug in the SD card and you will see it there. I plugged in an 8Gb card and it showed up at /dev/sda
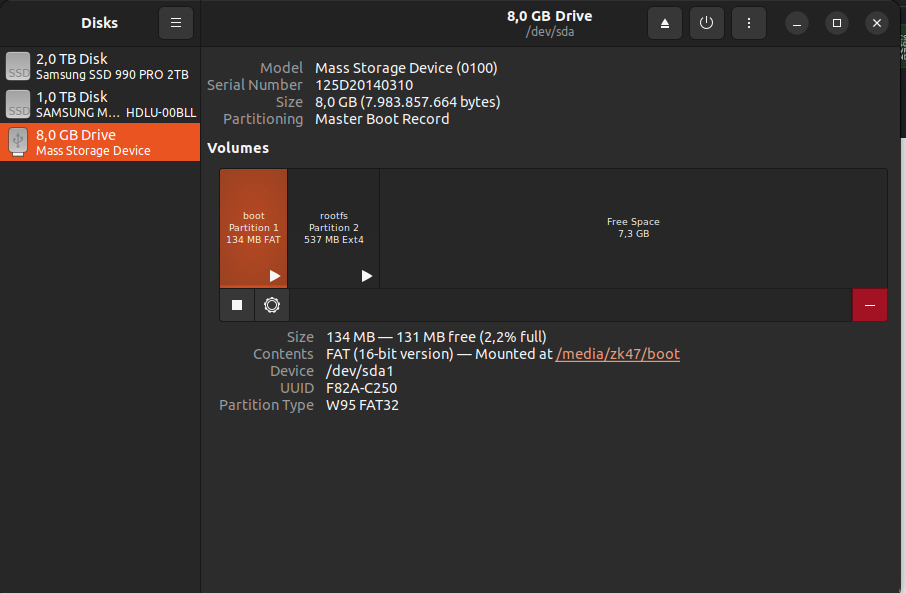
Next, click the icon in this corner and choose Restore Disk Image
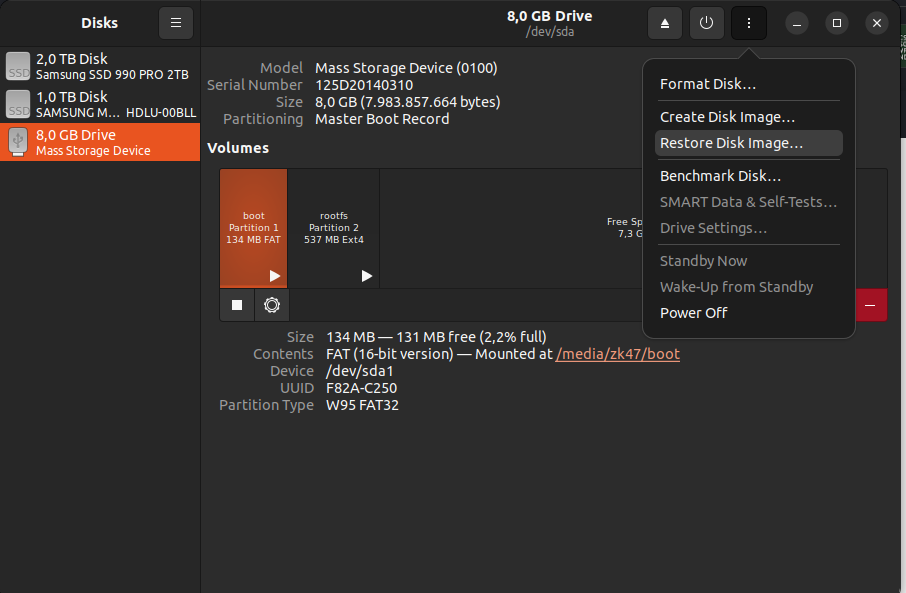
Point it to the downloaded image and we are ready to start restoring ...
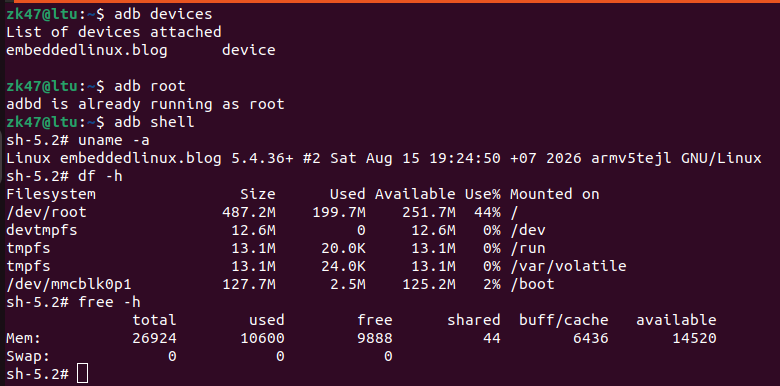
Wait for the flash to finish, plug the card into the board, install adb on your machine and try it
Or for serial: "sudo picocom -b 115200 /dev/ttyUSB0"
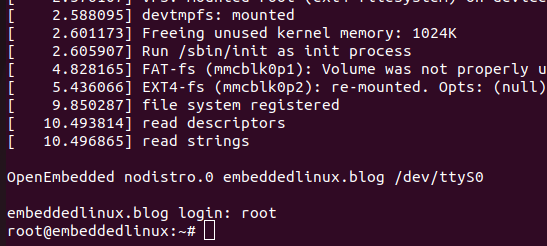
2.2 On Windows
Use the Rufus app to flash the downloaded image
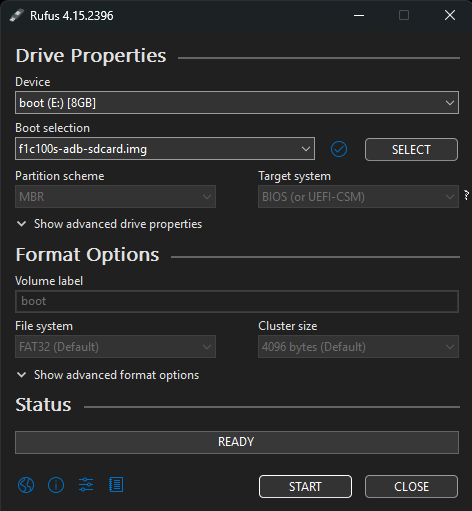
Then choose the SD card as the device and the downloaded img, click start and you are done
Download platform tools from google to get adb https://developer.android.com/tools/releases/platform-tools?hl=vi
On windows you have to add the folder containing adb to the path, or run it right in the download folder
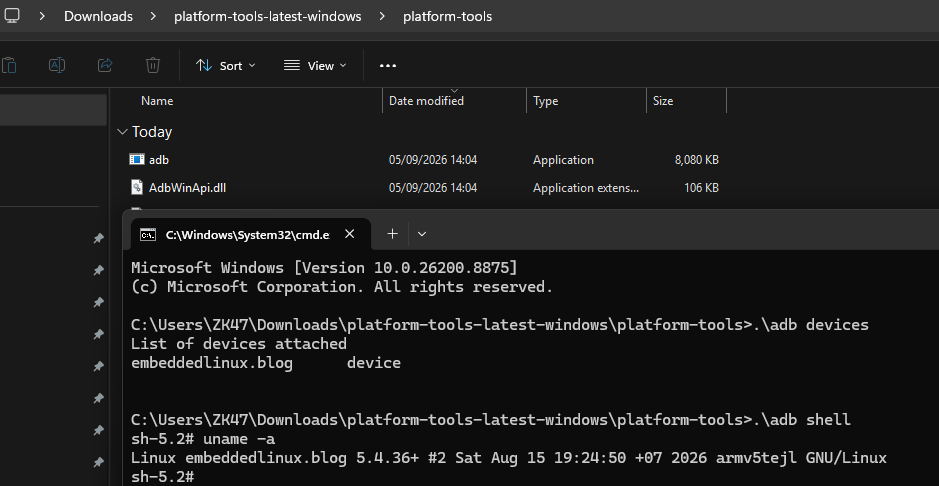
3. Using adb for shell, push, pull
In this image I made a separate boot folder, so if you change the kernel or rebuild the dtb you just point here
To push a file to /boot on the board, for example, we try
zk47@ltu:~$ touch tmp-boot-file
zk47@ltu:~$ adb push tmp-boot-file /boot
tmp-boot-file: 1 file pushed, 0 skipped.
zk47@ltu:~$ adb shell
sh-5.2# ls /boot
README.txt                       tmp-boot-file
boot.scr                         zImage
suniv-f1c100s-licheepi-nano.dtb
To pull the file /boot/zImage, from the computer's terminal run
zk47@ltu:~$ adb pull /boot/zImage
/boot/zImage: 1 file pulled, 0 skipped. 1.8 MB/s (2605584 bytes in 1.404s)
zk47@ltu:~$ ls | grep zImage
zImage
Have fun getting to know and tinkering with the board.
P/s: The board actually also has an image on its SPI NOR; plug in power and read the serial output to know whether the board is alive. It's just that to reflash it you need extra commands on linux and the right config. I think sunxi-tools does this.
The nice thing about my image is that it has adb, so you can send files and don't even need to plug in the uart serial cable :vv